10 Steps to Planning a Stress-Free Multi-Day Hike

Ahhh, the serenity.
Or, at least it would be if I hadn’t picked a campground right next to a main road. Or if I’d brought some extra socks to change into after a sweaty day on the track. And hang on - I thought you had the tent poles?
Planning might not be fun, but in the very least it’ll make your hike more pleasant - and in some cases, it could keep you out of really dangerous situations.
Step 1: Choose Your Hike
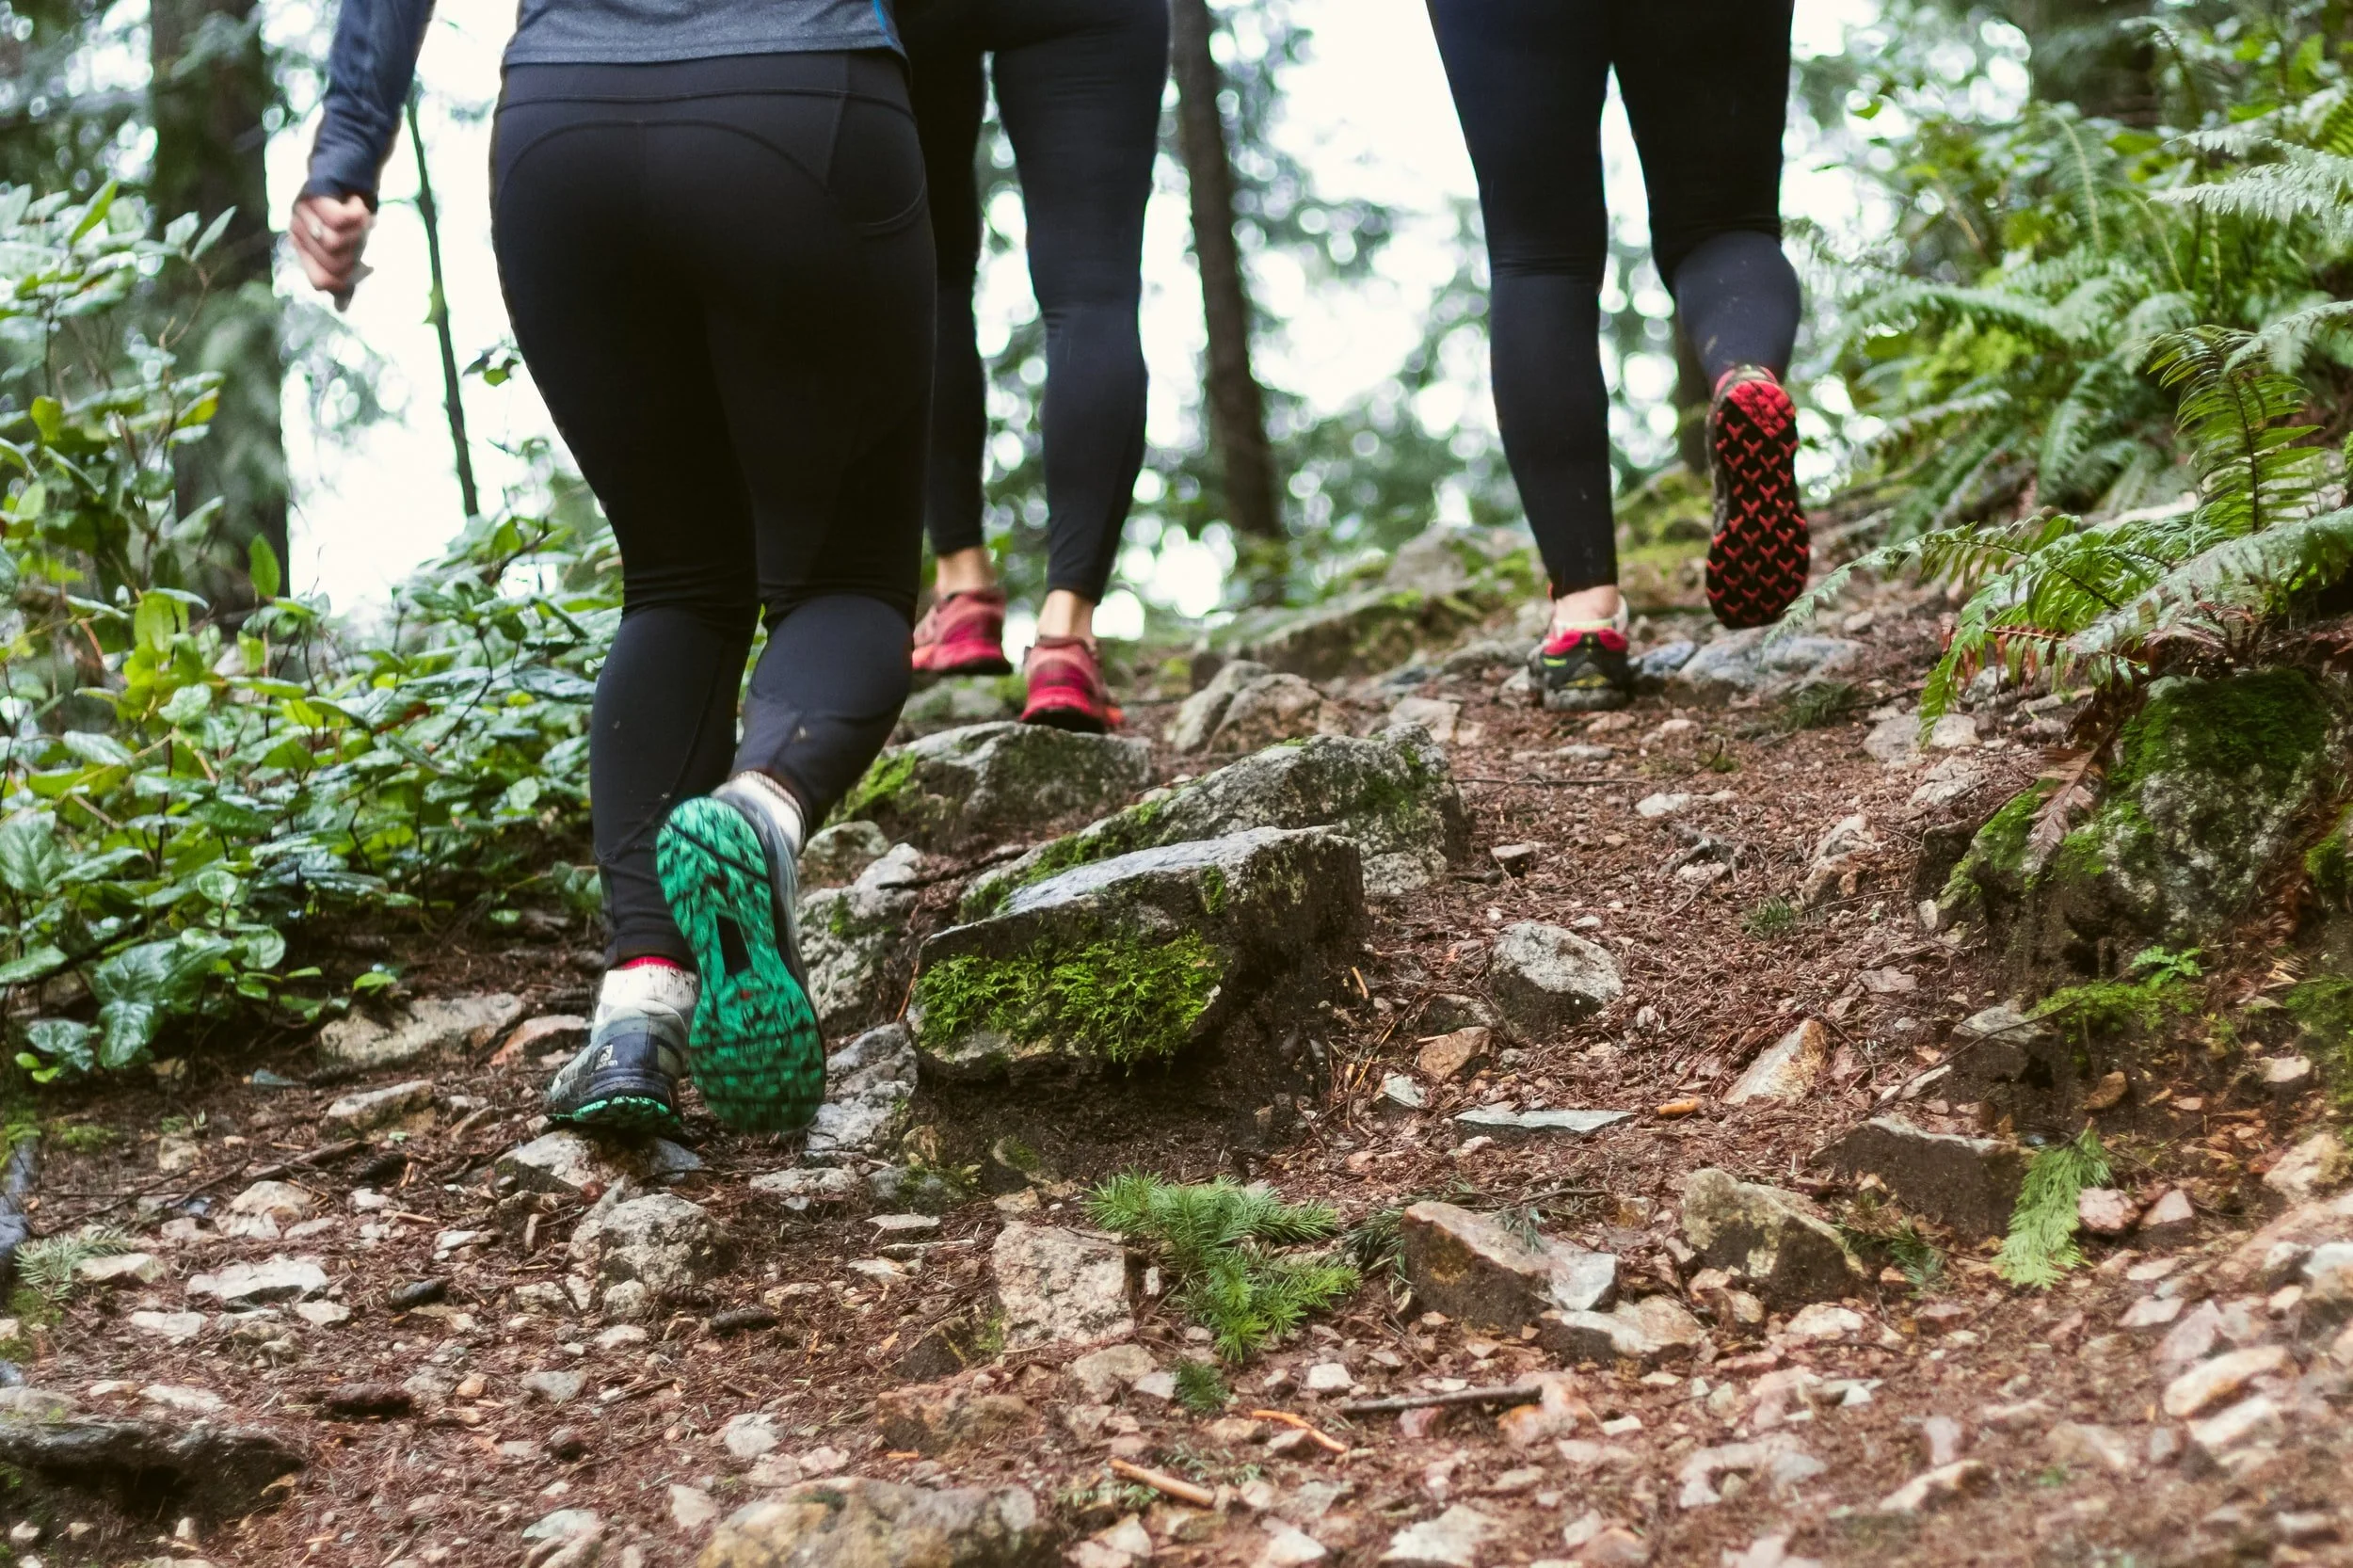
In some cases, choosing your hiking route is the easiest thing you’ll have to do.
There are plenty of well-established hiking routes all over the world, from Spain’s Camino to Peru’s Inca Trail, Maroon Bells in Colorado, USA, The Overland Track in Tasmania, Australia, and of course the king of them all, Everest. But there are also plenty of beautiful less-trodden trails out there that are just as good. Check on the area’s Parks and Wildlife Service website if there is one, trawl through AllTrails or, if you’re travelling, have a look through trusted travel guide sites like Lonely Planet. You can also browse the Destinations page right here on W&O - we’ve got in-depth articles about hiking trails around the world that our writers have experienced first-hand.
There are a couple of things to consider when choosing a route:
Does it match your experience? If you’ve never done a multi-day hike before and are off to Nepal, maybe attempt a couple of smaller or less challenging hikes beforehand. Even hikes that look flat on a topographical chart can be undulating and exhausting, especially if you’re looking at a duration of 5 or more days. If you’re just starting out with multi-day hikes, a single-night hike is a great way to begin.
Where will you be sleeping? Some hikes have set campgrounds, or even cabins that you must stay in. Others have you staying in country inns or teahouses, and still others that are way off the beaten track have no set places to sleep at all. Choose a hike with sleeping arrangements that match your expectations.
What other requirements are there? Some hikes, like the Inca Trail and the Overland Track, require a permit, and in some cases, you’re not allowed to walk them without a guide. Make sure the hiking conditions of your chosen track are things you’re happy with.
Step 2: Have You Booked?
It’s walking in the middle of nowhere right? I can just show up!
Wrong. More well-known hikes like the Inca Trail can book out a year in advance. Even more locally-known hikes require campground bookings in advance. At Royal National Park, just south of Sydney, you’d be hard pressed to get a booking along the Coast Track on a summer weekend. At some parks you can be fined if you haven’t booked and paid for a spot, so make sure you do your homework and book in to avoid disappointment.
Step 3: How Will You Get To and From The Trailhead?
You’ll need to organise transport to and from the trailhead, especially if it’s a one-way hike.
If you’re on one of those more famous hikes and choose to go with a tour operator, problem solved. If you’re going independently and you’re on a loop hike, you only need to organise to drive there, or catch the same transport to and from. If you’re on your own and on a one-way hike, you’ll need to think more carefully. Here are some strategies:
Go with a buddy and take two cars. Drive together around the to the end of the trail and leave one car there, then drive together to the start. At the end, drive back together to pick up the other car, then drive home separately.
Choose a hike that goes between train stations or public transport options.
If you’re travelling either side of the hike, consider what you need for your trip vs what you need for your hike. Can you leave stuff at a hotel while you hike, or in a locker at a train station? Can you post spare clothes to your accommodation at the other end of the hike in advance?
Step 4: Are You Fit Enough?
Hiking is SO much more enjoyable if you’re not thinking about how much your thighs are burning the entire time.
If you’re attempting a multi-day hike but rarely walk as it is, start by building longer walks into your day - walk to work or the shops where you can, and consider going for an hour-long walk in the evenings or even longer on weekends. Any walking is great, but in preparation for hiking it’s ideal if you can try to get some varied terrain in there so your body gets used to going up and down hills on rough ground. As you get fitter, build up into half- or full-day hikes, and if your multi-day hike is a long one get a few overnight hikes in so you gain confidence.
AND - practice in the gear you’re planning to use on your hike.
That means, wear the boots you plan on hiking in (more on that in a second), and even bring along your pack with some decent weight in it. If you get used to carrying weight on your back while you walk it’ll feel that much lighter on the trail, and wearing in your shoes means you won’t be hiking along with painful blisters bleeding all over your limited pairs of socks.
Step 5: What Gear Do You Need?
Here are the absolutely essential must-haves in your hiking kit:
Tent - choose the lightest weight tent you can afford
Backpack - big enough to fit everything you want to take, and something you’ve tried on before
Sleeping bag - rated warm enough for the conditions
Sleeping mat - preferably as small and lightweight as possible
Cooking gear - there are a range of different types and fuels out there, choose the most suitable for you.
You can read through our Hiking Gear How-To section for tips on how to choose the best hiking essentials, and also visit our Hiking Reviews page for reviews on specific items. We’ve collated a full pack list including these and all the items below for you here.
Step 6: What Clothes Will You Wear?
You only need two sets of clothes. That’s right - two.
Weight is everything when you’re hiking, and the reality is that every item of clothing you pack adds to the weight on your back. Whittle it down to what you really need: one set of clothes to hike in, and a clean set to relax in at camp and sleep in. You can apply this rule no matter how long the hike, although with a strong caveat: take enough fresh underwear please, and if you’re going for a longer time you may want to pack an extra pair or two of hiking socks in case you can’t dry them out properly overnight. Walking all day in wet socks is a sure way to develop blisters, fungal infections and all sorts of other nasty foot issues. You can read our guide to each specific clothing item here.
In addition to your base sets of clothes, you may consider the following:
Swimmers if you’re going somewhere warm near the water
A good, waterproof jacket if hiking in cold conditions, and if really cold, gloves, warm head covering, scarf etc
Hat and sunglasses
Waterproof jacket and pants if you’re expecting rain
Gaiters if conditions will be muddy - and trust us, from first-hand experience, don’t skip that one!
And then there’s the most important item of your hiking wardrobe: boots.
You should look for sturdy boots that come up high enough to support the sides of your ankle and reduce the likelihood of rolling (but not so high to limit your movement). They should have some pretty fierce-looking grip on the bottom, and a relatively firm outer sole. The inside should have adequate arch support. See our full rundown of how to choose the best hiking boots here.
Step 7: Where Can You Find Water?
This is a consideration essential for survival - not all tracks are going to have easily accessible, clean water.
Ensure you read up on the track in detail well before you go, including water sources. Water may be found from streams running along the route, or from tanks at campgrounds. If water sources are few and far between, ensure you’re taking enough bottles to carry the water in between places. When you do get the water, it’s unlikely to be fit to drink straight away - will you be taking water purification tablets, a squeeze-through filtration system or something like a SteriPen?
In some places, there’s no water to be found at all.
Here, you’ll need to carry your water, so account for this extra weight and work out how much water you can consume per day so you still have some spare at the end in case of emergency. Factor in not only the amount of water you’ll need to drink - at least 2l per day (but consider the temperature and drink more in hotter climates) - but also any water you’ll need to cook or rehydrate hiking meals with.

Step 8: What Are You Going to Eat?
Here, you need to strike a balance between nutrition and weight.
Plan out your three main meals for each day, as well as some nutritious snacks - and a small treat post-dinner never goes astray after a long day on the track. We recommend discarding any unessential packaging before you pack to reduce bulk and weight, and limit the amount of rubbish you’ll have to carry out (always leave the wilderness as pristine as you found it). We recommend packing the menu for each day into separate bags, so you can have that bag easily accessible for the day and leave the others further down in your pack.
While on longer hikes it might be tempting to reach for tinned food so nothing goes off, dehydrated foods are going to be your best friend to reduce the weight on your back - just keep in mind that they will require more water use.
A sample menu might look something like:
Breakfast: oats and powdered milk to make porridge OR muesli and powdered milk if you don’t want to have to cook, tea bag/freeze dried coffee
Morning tea: Trail mix and apple
Lunch: Wraps or thin flatbread (take one packet and use over multiple days) with tuna and bean pouch OR 4 bean mix for vegetarian option
Afternoon tea: Muesli bar
Dinner: Rice, powdered pumpkin soup, dried mushrooms, dried peas to make a vegetarian risotto OR udon noodles, miso, dried anchovies (ikan bilis), dried mushrooms to make an udon OR a dehydrated hiking meal.
Dessert: small chocolate bar, tea and powdered milk if desired
Obviously your particular menu will need to be adjusted with your dietary and energy requirements in mind - the main point is to go for lighter-weight, energy-rich options.
Step 9: How Will You Find Your Way?
An app on your phone is great - but what if you don’t have a signal, or your phone runs out of battery?
You should ALWAYS take a paper backup map of your route, even if it’s just printed from Google maps or taken from the relevant Parks website. Also carry a compass - it’s old-school, but if technology fails (and it often will in the middle of nowhere), you’ll need some way to orient yourself. It’s a good idea to get familiar with how the compass works beforehand, as well as be aware of the notable landmarks along the route - is there a river you should be following? Are you heading up and over a mountain? Should the ocean always be on your right? Having a sense of the geography of the hike will alert you that much sooner if you’ve taken a wrong turn.
And make sure your map and any other important documents like campsite bookings are in a waterproof bag - a soggy map won’t help you.
Step 10: What If You Get Into Trouble?
Hiking into the middle of nowhere and surviving with only what’s on your back unavoidably carries risk.
If you’re prepared and carry a personal locator beacon or satellite phone, you’re taking a good step towards mitigating this risk - we would never hike without one. Once you activate a personal locator beacon, local emergency services receive your emergency signal and are able to accurately locate you to within ten feet/three metres, dramatically increasing your chances of a timely rescue. In many countries you can also register your hike with the local Park or police, so check if you can do this. At the very least, make sure you share your route and intended timing with a family member or friend, so if you’re not back when you said you would be, they can raise the alarm and inform the emergency services of where to start looking.
For in-depth survival tips, read our guide to survival (COMING SOON).